
Creating a Bootable USB Drive with Rufus:
- Download Rufus from the official website: https://rufus.ie/
- Connect your USB drive to your computer.
- Launch Rufus and select your USB drive from the device list.
- Choose the Windows ISO file that you want to create a bootable USB drive for.
- Click HERE to Download ISO file.
- Select the partition scheme: MBR for Legacy BIOS and UEFI-CSM, or GPT for UEFI. (it’s just to tell you about this option: it’s not recommended to changes this option but must remember to is it MBR or GPT you can go default options)
- Choose the file system: NTFS for larger files, FAT32 for better compatibility.
- Leave the cluster size at the default setting.
- Check the “Create a bootable disk using” box and select “ISO Image” from the dropdown menu.
- Click “Start” and wait for the process to complete.

When selecting the boot option, it’s important to choose the appropriate one depending on the firmware type of your computer. If your computer has a UEFI firmware, select the UEFI boot option. If your computer has a legacy BIOS firmware, select the legacy boot option. To check your computer’s firmware type, you can look for it in the system information or BIOS/UEFI setup utility.,
Steps to Install Windows 10
1. Insert bootable Windows 10 USB Drive and restart your computer.
2. If your DVD or USB is bootable, then your computer will automatically boot from bootable Windows 10 USB .
In case, it is not a bootable installation media, then you need to visit BIOS and their make appropriate changes to boot from USB or DVD.
Alternatively, when you see the black screen after reboot, press ESC or F12 key for bringing boot selection menu. Boot key varies from ESC to F1, F2, F8, F10, F11, F12 and
For example, for HP laptops, press F9, for Dell laptops, press F12, for Lenovo laptops, press F12 or Fn+F12, and for Asus laptops, press ESC or F8.
Once you get the boot menu, select the installation media drive and hit Enter.
3. Once your system successfully boots from your desired Windows 10 installation media, you will see different options and you need to select according to your requirements
- Language to install
- Time and Currency Format
- Keyboard or Input method
After selecting all the details, click on the “Next” button.

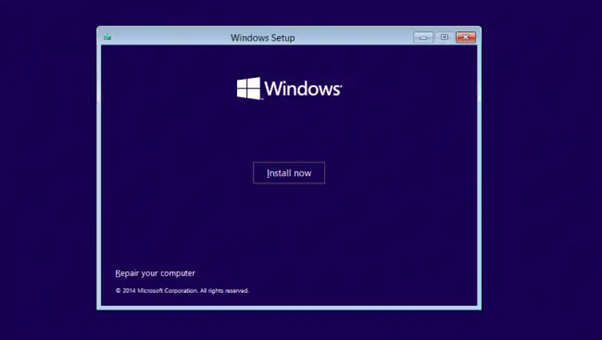
4. In the next window, you will see a blue colour window with a button labelled as “Install Now “.
You need to click on it to continue the setup…
5. In this window, you will be asked to enter the 25-character product key in the space provided and then click on the Next button.

If you don’t have a product key for the moment, then you can also click on Skip button and enter the product key later.
Note: if you are using crack version or pirated version you may not this step. If the setup is preactivated and it’s not preactivated you can active the window using KMS windows activator.
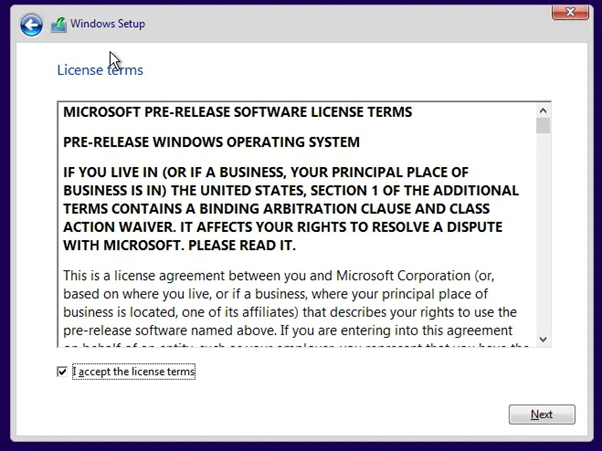
6. Now you will see the license agreement window, if you want, you can read all the terms and conditions, check the option labelled as “I accept the license terms” and hit the “Next” button.
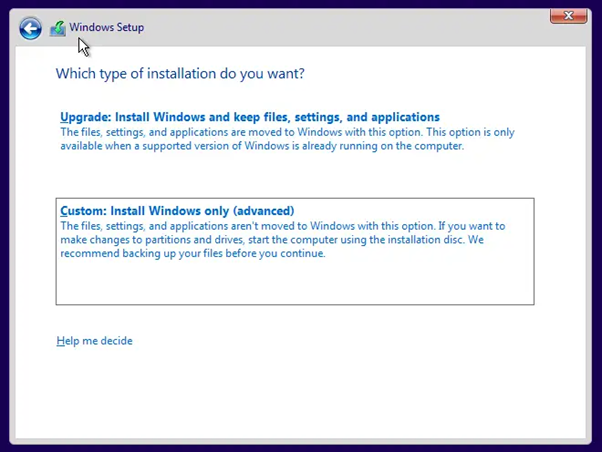
7. In the next window, you will see two different options:
- Upgrade: Install Windows and keep files, settings, and applications
- Custom: Install Windows Only (Advanced)
To perform a clean installation of Windows 10, you need to click on the second option i.e., Custom: Install Windows Only (Advanced).
8. In the next windows, you need to choose the drive on which you want to install the copy of Windows 10. If the drive already running a copy of Windows and you want to remove it, then you need to format the system drive where the window is already installed. Of course, this will free up space drive space.
To format the system drive, you need to select the drive and click on the “format” option at the bottom of the window.
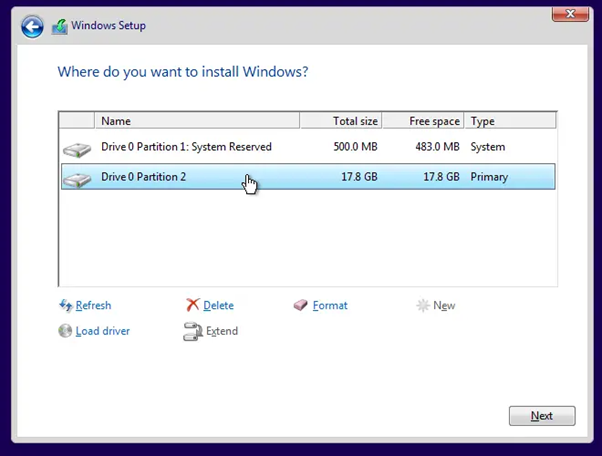
The system will additionally create a partition with name “System Reserved” to ensure that system work fine. The size of this partition is around 100MB in most of the cases.
Note: After formatting the drive, you will lose all the data on the C drive and settings which include installed apps, games, and any personal data lying on the desktop, Music, Video, Pictures and related folders.
9. Select the drive where you want to install the copy of Windows 10 and click on the “Next” button.
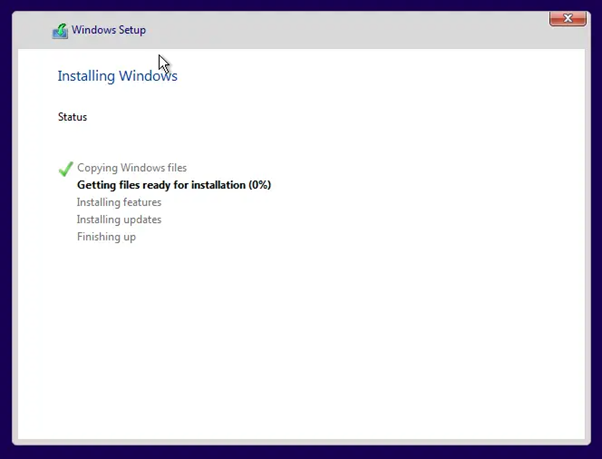
At this point, the installation of Windows will start. It will take around 20-25 minutes to complete the installation process.
During the installation, your system may reboot two or three times.
Note: At the time or reboot, make sure to unplug the USB drive or DVD drive otherwise it will load the complete setup again. Or if your Flash drive is bootable then don’t press Any key on your keyboard.
10. Once the installation is completed.
